Webpack, NodeJS and Express fueled by typescript

Webpack is all the rage today. It calls itself a module bundler, but it is so much more than that. It will replace your gulp setup entirely, as it will do your transformations, you bundling, your replacements, your asset compilation, just about everything on the front-end build chain.

But what about the backend?

This question bothered me, so I decided to go ahead and build something to find out.

The building blocks

Node JS

Node.js® is a JavaScript runtime built on Chrome’s V8 JavaScript engine. Node.js is mainly used for backend and build chain tasks. For more information, visit https://nodejs.org/en/ .

ExpressJS

Express is a project of the Node.js Foundation, it is a robust web framework for NodeJS. The Express framework allows building backend services with REST-APIs.
For more detailed information, look here : https://expressjs.com/

WebPack


Webpack is a module bundler. Its main purpose is to bundle JavaScript files for usage in a browser, yet it is also capable of transforming, bundling, or packaging just about any resource or asset.
In this project, we use webpack to transpile and bundle the NodeJS code written in typescript.
For more detailed information, look here : https://webpack.js.org/


I am using version 3.10.0

Typescript

TypeScript is a free and open-source programming language developed and maintained by Microsoft. It is a strict syntactical superset of JavaScript, and adds optional static typing to the language. (from Wikipedia)
For more detailed information, look here : https://www.typescriptlang.org/

Continue reading “Webpack, NodeJS and Express fueled by typescript”

HomePi – connecting the Pi and the LED board

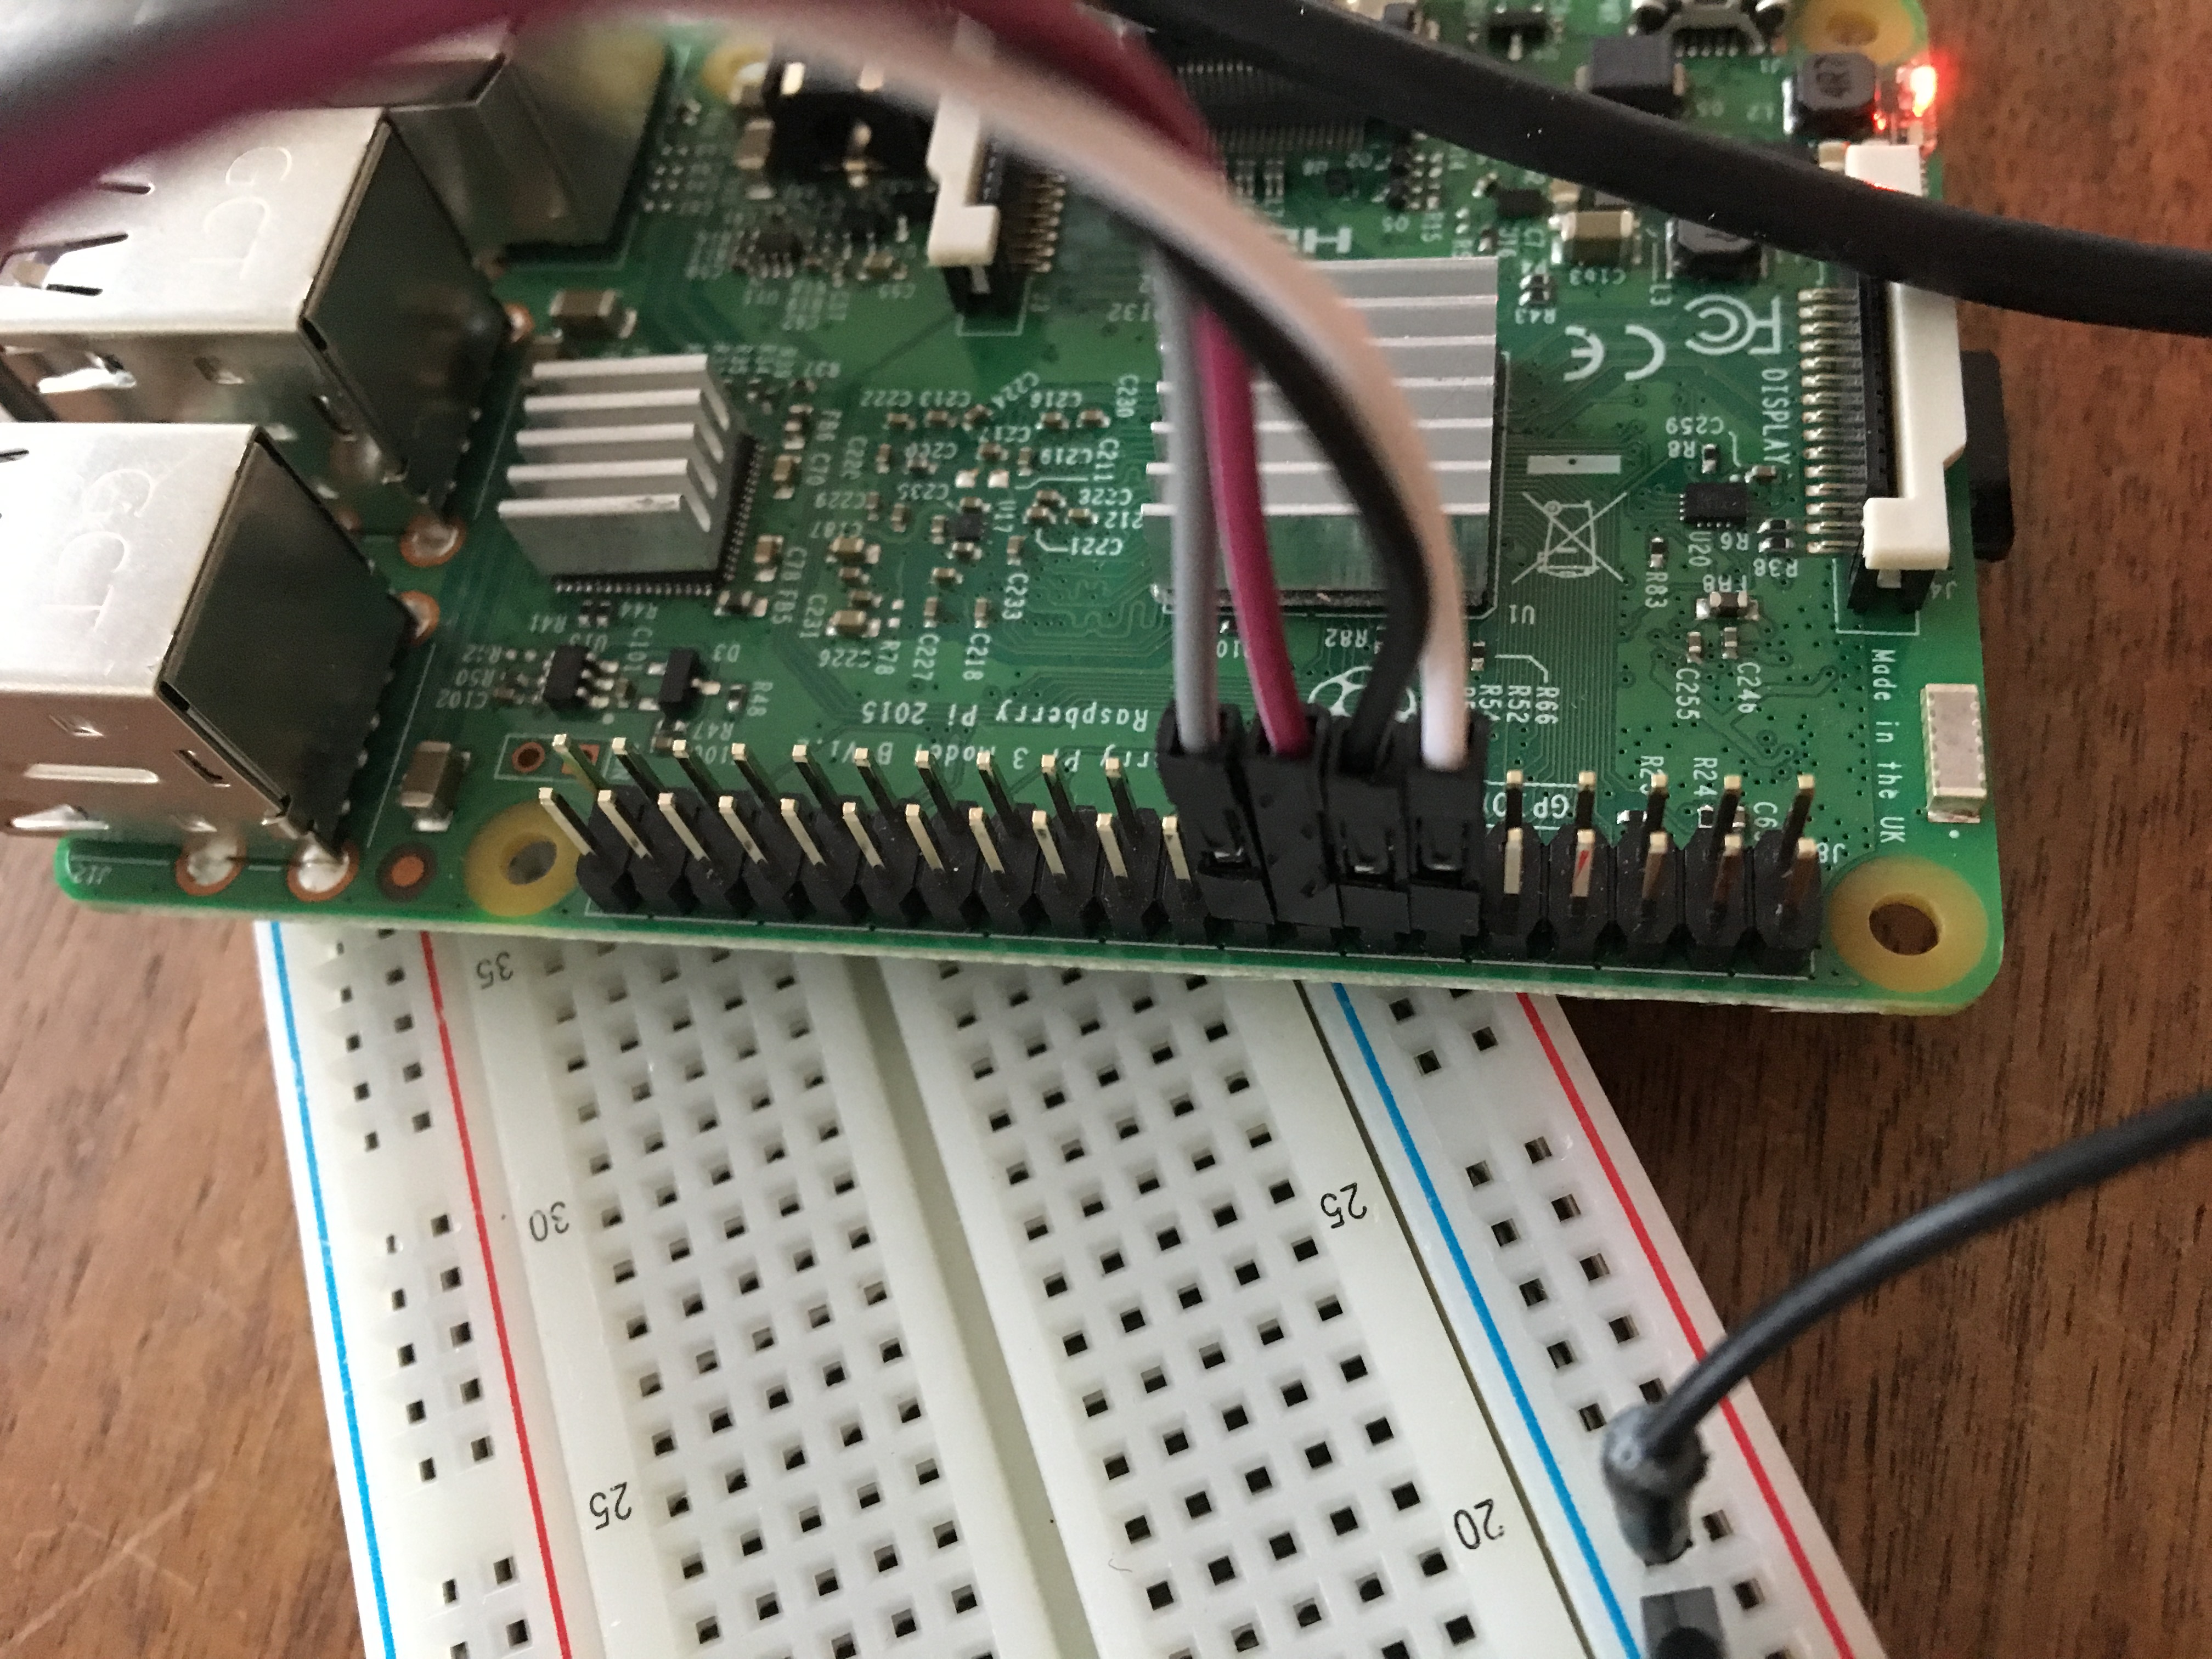
After setting up the LED board (HomePi – Starting with the LED board) and proving that it is actually working, it is now time to connect the Pi with the LED board. In this blog Post, we will talk about:

  • The Raspberry Pi GPIOs in general
  • How to connect the two devices
  • Download & use a software that allows to control the GPIOs/LEDs

First things first: The GPIOs

GPIO stands for General purpose input/output. We find them on the Raspberry Pi. A very good source of information is https://www.raspberrypi.org/documentation/usage/gpio/ where we find an image explaining the PIN numbering and location on the board.

The GPIO pins are a physical interface between the Pi and the outside world. At the simplest level, you might think of them as switches that you can turn on or off (input case) or that the Pi can turn on or off (output case).

Continue reading “HomePi – connecting the Pi and the LED board”

How to install NodeJS 8 on Raspberry Pi (using the ArmV6 package)

The is just a little “note” on how to install NodeJS on the RaspberryPi, as I was searching for the best way to do it my self several time, I decided to put this up for you guys (and me 😉 ) here to find it more easily..

First ssh into your Pi, then follow the procedure:

pi@raspberrypi:~ $ mkdir Downloads
pi@raspberrypi:~ $ cd Downloads/
pi@raspberrypi:~/Downloads $ wget https://nodejs.org/dist/v8.9.0/node-v8.9.0-linux-armv6l.tar.xz
--2017-11-05 11:57:20--  https://nodejs.org/dist/v8.9.0/node-v8.9.0-linux-armv6l.tar.xz
...
Length: 10272460 (9.8M) [application/x-xz]
Saving to: 'node-v8.9.0-linux-armv6l.tar.xz'
node-v8.9.0-linux-a 100%[===================>]   9.80M  1.20MB/s    in 7.7s 
...  
pi@raspberrypi:~/Downloads $ tar -xvf node-v8.9.0-linux-armv6l.tar.xz
pi@raspberrypi:~/Downloads $ cd node-v8.9.0-linux-armv6l/
pi@raspberrypi:~/Downloads/node-v8.9.0-linux-armv6l $ sudo cp -R * /usr/local/
pi@raspberrypi:~/Downloads/node-v8.9.0-linux-armv6l $ cd
pi@raspberrypi:~ $ node -v
v8.9.0

You see, finally, we got no v8.9.0 on the Pi.

Stay tuned..