How to explain Log Levels to your kids and your team – a “reshare”

On his blog,

my valued friend Ali is explaining log levels and how to use them. I think he is right with what he is asking for when it comes to choosing the right level for logging. Please find his post below, the original can be accessed under: https://huestones.co.uk/2019/12/how-to-explain-log-levels-to-your-kids-and-team/


I’ve had to explain log levels on many occasions when working with new teams and over time developed a hopefully simple explanation of how logging should work in any application. This post is of course opinionated; As long as you, your team and your organisation have the same opinion you should be fine and my opinion won’t matter. But if you are seeking a better explanation of logging levels then this post is here to help you reason through this.

LOG LEVELS

Fatal, Info, Debug, Trace, Silly, Verbose, Alert– there are so many logging levels that every time you start writing code and use a particular logging library it is often confusing what level to use when logging a particular message. To add to the confusion there is also a level associated with the logger and usually the loggers’ level decides what log levels will be output by that logger.

Syslog RFC 5424 section section 6.2.1 defines seven severities and many logging libraries support these. You don’t really need so many levels and the more levels you have the more the cognitive load of choosing the right level when writing code. Sticking to some core principles discussed here and a few levels should suffice.

EXPLORING A COLOSSAL CAVE

So imagine besides your nighttime programing job you are in daytime an intrepid cave explorer and are about to set out exploring a new cave with your teammate. You are the first humans ever to enter into the cave as you lead your less experienced teammate.

To share your first hand experience you have a twitter feed where you will post updates as you progress. But you are also aware of the dangers of entering an unexplored cave and are well prepared. You carry with you a walkie talkie which connects you with a fellow teammate who follows behind you and have an external hard communication line that connects you to emergency services. Both of you carry a backpack with essential first-aid kit, food and water.

You start into the cave by timing yourself and post some info into your twitter feed “We are entering the cave…”, “the time now is 14:00 hours”.

As you explore the cave you notice a deep slippery gorge filled with poisonous snakes and you warn your fellow explorer behind you “Watch your step on the left, snake nest”.

 THE LEVEL YOU LOG A MESSAGE AT SHOULD DEPEND SOLELY ON THE SEVERITY OF THE MESSAGE ITSELF. THE OUTPUT LEVEL THE LOGGER IS SET AT SHOULD NOT WORRY YOU TOO MUCH

Further in, your teammate splits up and decides to explore a small stream going down a gully. Soon you hear him cry out on your walkie talkie, “I’ve slipped, I’ve slipped, I’m going to have to drop my backpack and swim out”. “Okay I’ve gotten out but no backpack, I’m going to have to turn around.” You realise it was an error letting him go it alone and now he has had to abort the exploration, too bad. Before leaving he puts up a few flares and takes a snap of his whereabouts. He will share this internally so that you both can check and learn, debug and decipher what went wrong afterwards.

As you wander deeper into the cave you see beautiful cave paintings and in excitement make a misstep. You fall into a pit and while you manage to regain your control you hit your ankle hard and feel the crack of bone. This is critical. You need someone to come and help you out. Luckily the hardline to emergency services gets you some help.

DEFINING LOG LEVELS

So now that you are out of the Colossal Cave and resting your injured ankle you decide to use your experience and write some rules for log levels.

MESSAGE SEVERITY AND OUTPUT LEVEL

You realise that every message you want to log has a level of severity associated with it. The level you log a message at should depend solely on the severity of the message itself. The output level the logger is set at should not worry you too much. The loggers’ output level should automatically filter out messages that are of lower severity, it’s not your worry. For example, emergency services use a logger set at level critical which will automatically filter out any info messages even if you send it to the logger while your twitter feed uses a logger set at level info and will show everything on your twitter feed so your fans can follow your progress and mishaps in real time!

Importantly the loggers output level does not change the severity of your message.

LOG DATA MAY INADVERTENTLY EXPOSE RUNTIME, SECURITY OR PERSONAL DETAILS HELD IN YOUR SYSTEM…

THE RULES

info (or verbose): Use this to log messages that communicate details of where you are in your code, what you are about to do. If you are tracking performance log when you entered a code block, how long you took, what you did or did not do.

warn: Use this level to communicate expected error conditions or errors you can safely recover from. Also use it to highlight any risks which might need addressing in time or may get more serious if they continue to be ignored in subsequent releases of your code.

error: Use this level to communicate unexpected conditions that caused your code to abort what it intended to do during this run.

critical (or alert or emergency): Use this level to communicate unexpected conditions that will cause your code to continue failing even during subsequent runs. Usually critical is a call for help to some human to come and help your program or system to recover, even if it’s 2AM in the night.
Note: If your chosen logging library or platform does not support a critical level, use error and include a tag in the message to say it’s a critical condition. You can then get it immediate attention or human intervention to resolve.

debug: This is an interesting level and should be used to log information that helps you debug the program, dump the contents of memory, stack traces and other variables in context when errors happen. This kind of variable log data may inadvertently expose runtime, security or personal details held in your system and hence should be logged on this seperate level. Remember you can combine the debug level with one of the other levels, usually error or critical. First log a friendly message at one of the other levels and then log the system state variables using debug immediately after. On productions systems this gives you the option to completely turn off the debug level logs or purge the debug logs based on your organisations security guidelines.

That’s it, I hope you enjoy exploring many more caves and do so safely.


Image credit: Jorge Fernández on Unsplash

Auto-change proxy in Mac OS terminal per location

While almost all GUI tools on macOS respect the global proxy settings per Location, the terminal does not. As a developer switching between corporate and non-proxied networks, this is a big pain. Fortunately, I found a solution to automatically switch proxy settings when you change the Location setting in MacOS.

Continue reading “Auto-change proxy in Mac OS terminal per location”

Webpack, NodeJS and Express fueled by typescript

Webpack is all the rage today. It calls itself a module bundler, but it is so much more than that. It will replace your gulp setup entirely, as it will do your transformations, you bundling, your replacements, your asset compilation, just about everything on the front-end build chain.

But what about the backend?

This question bothered me, so I decided to go ahead and build something to find out.

The building blocks

Node JS

Node.js® is a JavaScript runtime built on Chrome’s V8 JavaScript engine. Node.js is mainly used for backend and build chain tasks. For more information, visit https://nodejs.org/en/ .

ExpressJS

Express is a project of the Node.js Foundation, it is a robust web framework for NodeJS. The Express framework allows building backend services with REST-APIs.
For more detailed information, look here : https://expressjs.com/

WebPack


Webpack is a module bundler. Its main purpose is to bundle JavaScript files for usage in a browser, yet it is also capable of transforming, bundling, or packaging just about any resource or asset.
In this project, we use webpack to transpile and bundle the NodeJS code written in typescript.
For more detailed information, look here : https://webpack.js.org/


I am using version 3.10.0

Typescript

TypeScript is a free and open-source programming language developed and maintained by Microsoft. It is a strict syntactical superset of JavaScript, and adds optional static typing to the language. (from Wikipedia)
For more detailed information, look here : https://www.typescriptlang.org/

Continue reading “Webpack, NodeJS and Express fueled by typescript”

HomePi – connecting the Pi and the LED board

After setting up the LED board (HomePi – Starting with the LED board) and proving that it is actually working, it is now time to connect the Pi with the LED board. In this blog Post, we will talk about:

  • The Raspberry Pi GPIOs in general
  • How to connect the two devices
  • Download & use a software that allows to control the GPIOs/LEDs

First things first: The GPIOs

GPIO stands for General purpose input/output. We find them on the Raspberry Pi. A very good source of information is https://www.raspberrypi.org/documentation/usage/gpio/ where we find an image explaining the PIN numbering and location on the board.

The GPIO pins are a physical interface between the Pi and the outside world. At the simplest level, you might think of them as switches that you can turn on or off (input case) or that the Pi can turn on or off (output case).

Continue reading “HomePi – connecting the Pi and the LED board”

How to install NodeJS 8 on Raspberry Pi (using the ArmV6 package)

The is just a little “note” on how to install NodeJS on the RaspberryPi, as I was searching for the best way to do it my self several time, I decided to put this up for you guys (and me 😉 ) here to find it more easily..

First ssh into your Pi, then follow the procedure:

pi@raspberrypi:~ $ mkdir Downloads
pi@raspberrypi:~ $ cd Downloads/
pi@raspberrypi:~/Downloads $ wget https://nodejs.org/dist/v8.9.0/node-v8.9.0-linux-armv6l.tar.xz
--2017-11-05 11:57:20--  https://nodejs.org/dist/v8.9.0/node-v8.9.0-linux-armv6l.tar.xz
...
Length: 10272460 (9.8M) [application/x-xz]
Saving to: 'node-v8.9.0-linux-armv6l.tar.xz'
node-v8.9.0-linux-a 100%[===================>]   9.80M  1.20MB/s    in 7.7s 
...  
pi@raspberrypi:~/Downloads $ tar -xvf node-v8.9.0-linux-armv6l.tar.xz
pi@raspberrypi:~/Downloads $ cd node-v8.9.0-linux-armv6l/
pi@raspberrypi:~/Downloads/node-v8.9.0-linux-armv6l $ sudo cp -R * /usr/local/
pi@raspberrypi:~/Downloads/node-v8.9.0-linux-armv6l $ cd
pi@raspberrypi:~ $ node -v
v8.9.0

You see, finally, we got no v8.9.0 on the Pi.

Stay tuned..

HomePi – Starting with the LED board

As discussed in earlier blog-posts, I will show you how to build an LED controller to be ultimately controlled by the Google Home device. This article is the first in the series that actually talks about the components and we will start with the LEDs connected to our RaspberryPi.

LEDs

First of all we need some electrical engineering fundamentals (based on https://electronicsclub.info/leds.htm):

I own several red and green LEDs, so I will use them for my demo. Every LED must have a resistor connected in series to limit the current flowing through the LED, to prevent it froming burning out instantly. The Resistor value can be calculated with a simple formular

R = (VS – VL) / I 

R = resistor value in ohms (ohm).
VS = supply voltage.
VL = LED voltage (2V generally, or 4V for blue and white LEDs).
I = LED current in amps (A)

Continue reading “HomePi – Starting with the LED board”

HomePi – What we will build

As announced before with my post , I am doing my first blog series about building a sample DIY home automation for everyone to copy.

But what will we actually build?

The general idea behind this series is to show you which steps are needed to connect a google home to you raspberry Pi. It may sound like a small thing, but actually some components are involved

Continue reading “HomePi – What we will build”

HomePi – Google Home connected to raspberry pi using RSI #wc3auto

pi + Google Home
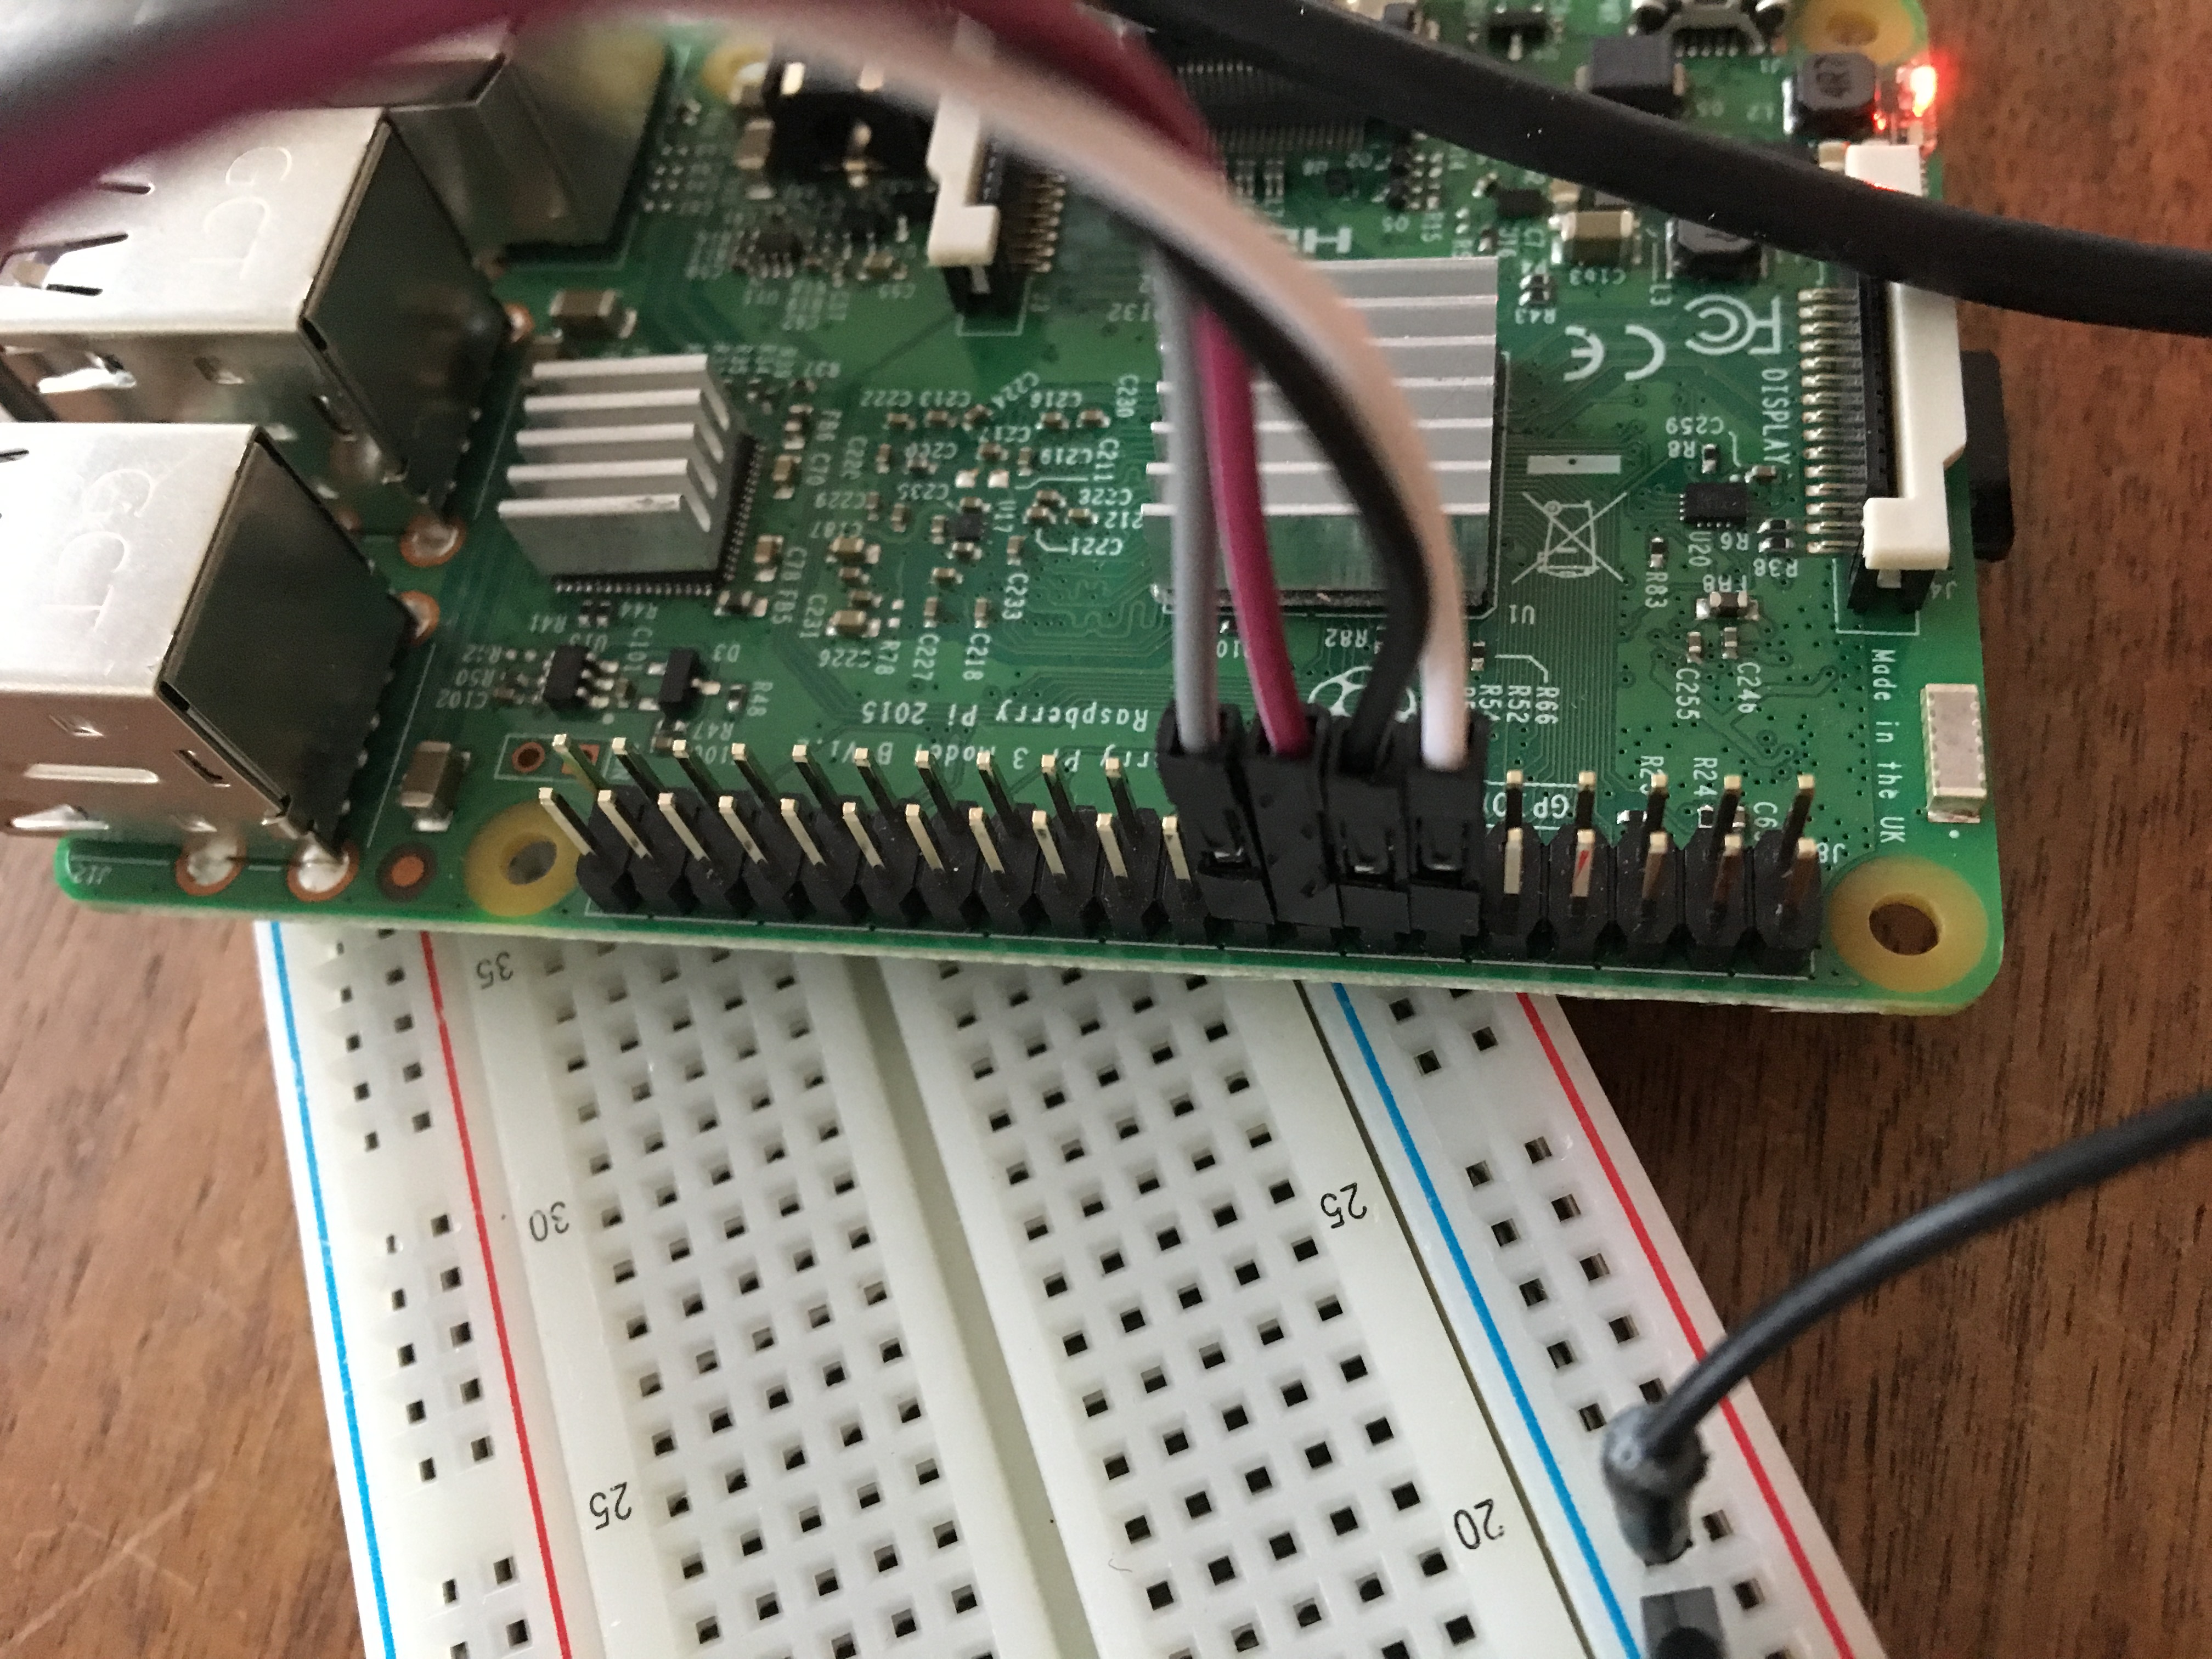
I am currently preparing a series of blog posts to explain, how I connected my rapsberry pi based sprinkler system to my Google home. I will share code an insights about my journey.

You will need a raspberry pi (any generation is fine, I run a 1.gen) and a Google Home, or just your smartphone with google assist enabled. The more impressive is the Google Home though.

I will explain how to setup the raspberry pi, how to obtain a hostname for you dynamic IP address, the setup of letsencrypt certificates on the rasberry pi, how to auto-renew them, how to write a plugin for the rsiServer (http://github.com/rsiServer), how to setup the server for Token based authorization, how to enable https and finally how to hook up the Google Home to the entire system.

Please give me a little time and support me by sharing the announcement, I will be back with detailled instructionssoon.

W3C rsiServer on github – automotive Web APIs made public

The World wide web consortium decided to create a standard for automotive APIs a few years back. Quite some discussion where going on about the technologies to choose for those APIs. While in the beginning a strong candidate was seen in a JavaScript API for automotive grade browsers which run on the so called IVI (in-vehicle-infotainment) systems, nowadays a more versatile API is the consortiums favourite.

With operating systems (OS) like Google Android or Apple iOS dominating the smartphone market and HTML5 and QT moving into the automotive infotainment world, an API is needed which allows to connect from any device and its OS to the actual vehicles API.

The APIs the W3C is designing will cover different domains. Of course accessing vehicle information from within or outside of the IVI unit is a must – we are talking about automotive APIs. Other areas of interest are location based services that would allow an application developer to access the vehicles navigation core, e.g. to feed destinations into it.

The discussions in the W3C automotive web platform group (https://www.w3.org/community/autowebplatform/) also brought up a REST interface approach that adds push to REST APIs. A reference implementation for a server is made public on github for everyone to play around with an contribute (https://github.com/wzr1337/rsiServer).

While REST APIs are familiar to most of the application developers from using web services nowadays, the approach is fairly uncommon but yet interesting for automotive applications. Especially added some push mechanism will allow application to listen for changes rather than polling them in. This is of course the key differentiator and yet a straight forward approach to make vehicle APIs usable for non-auto guys.

The expectation is to open up an eco system for applications similar to the mobile web APIs like GeoLocation did in recent years.