Logging out of Netflix on Smart TVs

I am just sitting here on the couch trying to logout of the netflix.com app on a LG Electronics TV. The one or the other of you guy may come accross the same problem when using you account in an AirBnb or any other home that you do not want your account to stick with, so down you find the solution 😉

I was fiddling around with the settings, almost any button on the remote when I finally found a “secret” code to bring up the TVs netflix menu. The steps to follow are:

  1. Launch Netflix on the TV.
  2. Enter the following code using the arrow keys on the remote control:
    1. Up
    2. Up
    3. Down
    4. Down
    5. Left
    6. Right
    7. Left
    8. Right
    9. Up
    10. Up
    11. Up
    12. Up
  3. Sign out using the last menu item called “Sign Out”


If that does not work, you can still log out on all you devices from the netflix web page:

https://help.netflix.com/en/node/18


Webpack, NodeJS and Express fueled by typescript

Webpack is all the rage today. It calls itself a module bundler, but it is so much more than that. It will replace your gulp setup entirely, as it will do your transformations, you bundling, your replacements, your asset compilation, just about everything on the front-end build chain.

But what about the backend?

This question bothered me, so I decided to go ahead and build something to find out.

The building blocks

Node JS

Node.js® is a JavaScript runtime built on Chrome’s V8 JavaScript engine. Node.js is mainly used for backend and build chain tasks. For more information, visit https://nodejs.org/en/ .

ExpressJS

Express is a project of the Node.js Foundation, it is a robust web framework for NodeJS. The Express framework allows building backend services with REST-APIs.
For more detailed information, look here : https://expressjs.com/

WebPack


Webpack is a module bundler. Its main purpose is to bundle JavaScript files for usage in a browser, yet it is also capable of transforming, bundling, or packaging just about any resource or asset.
In this project, we use webpack to transpile and bundle the NodeJS code written in typescript.
For more detailed information, look here : https://webpack.js.org/


I am using version 3.10.0

Typescript

TypeScript is a free and open-source programming language developed and maintained by Microsoft. It is a strict syntactical superset of JavaScript, and adds optional static typing to the language. (from Wikipedia)
For more detailed information, look here : https://www.typescriptlang.org/

Continue reading “Webpack, NodeJS and Express fueled by typescript”

HomePi – connecting the Pi and the LED board

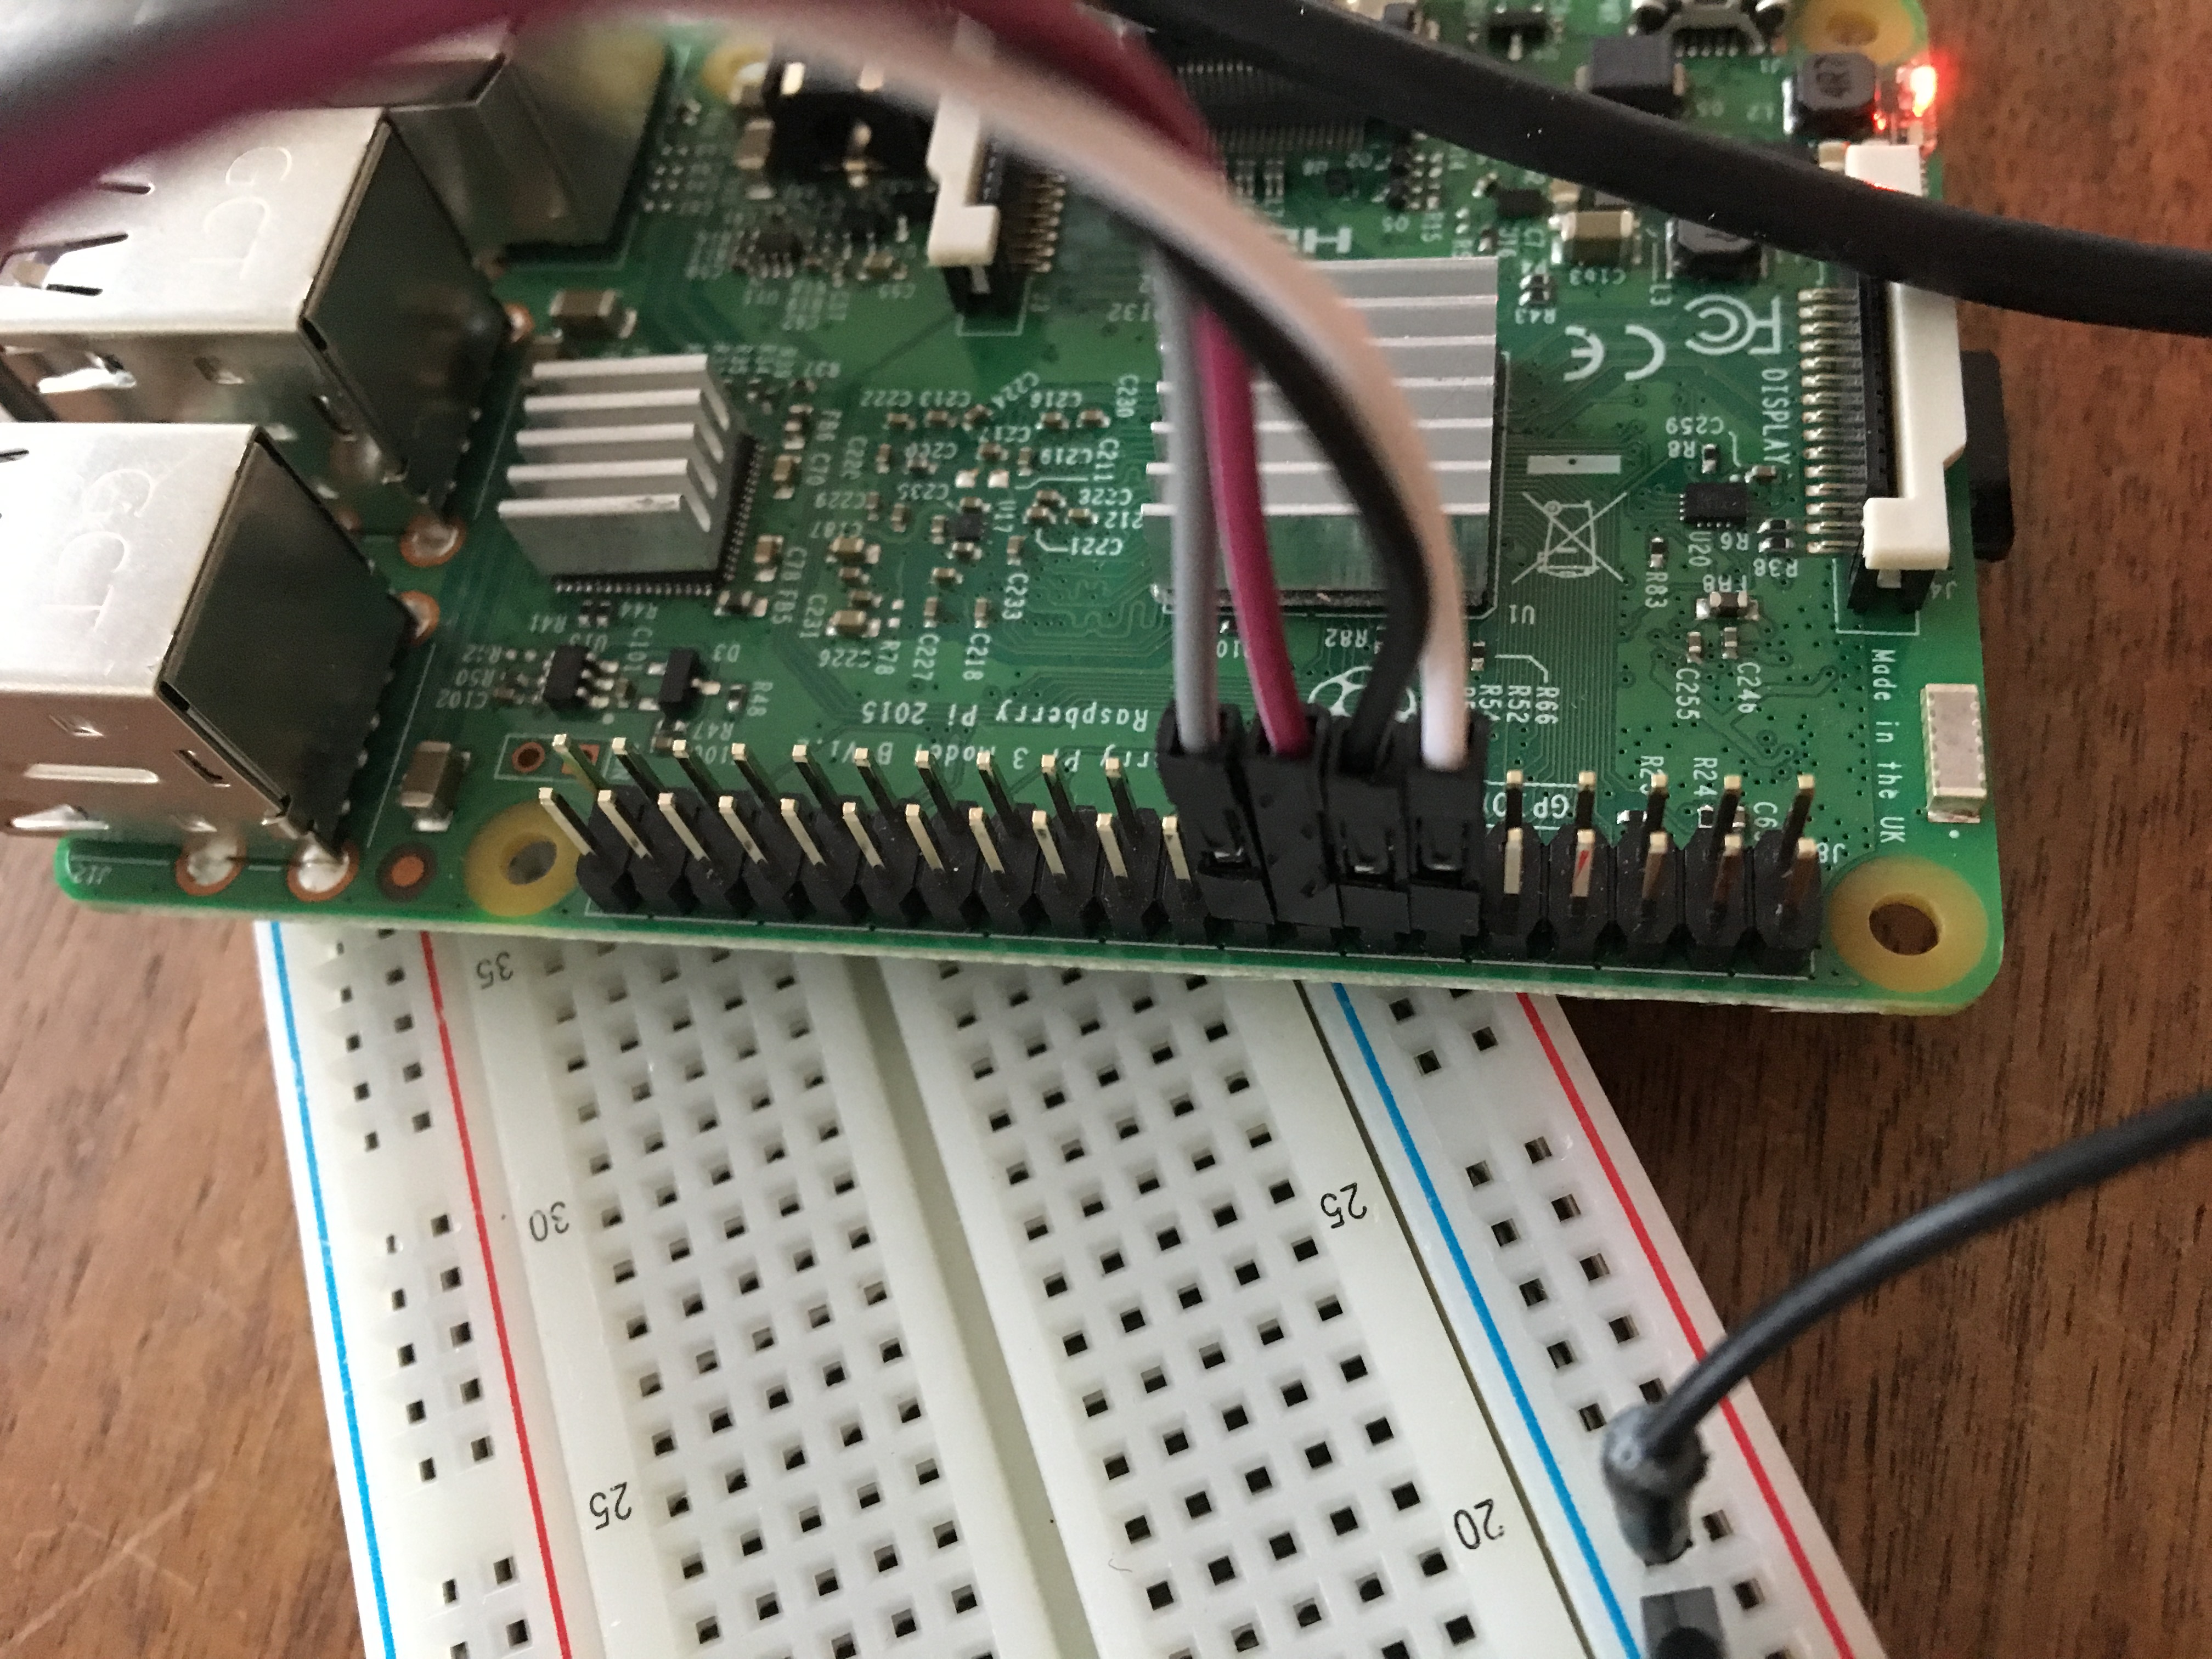
After setting up the LED board (HomePi – Starting with the LED board) and proving that it is actually working, it is now time to connect the Pi with the LED board. In this blog Post, we will talk about:

  • The Raspberry Pi GPIOs in general
  • How to connect the two devices
  • Download & use a software that allows to control the GPIOs/LEDs

First things first: The GPIOs

GPIO stands for General purpose input/output. We find them on the Raspberry Pi. A very good source of information is https://www.raspberrypi.org/documentation/usage/gpio/ where we find an image explaining the PIN numbering and location on the board.

The GPIO pins are a physical interface between the Pi and the outside world. At the simplest level, you might think of them as switches that you can turn on or off (input case) or that the Pi can turn on or off (output case).

Continue reading “HomePi – connecting the Pi and the LED board”

How to install NodeJS 8 on Raspberry Pi (using the ArmV6 package)

The is just a little “note” on how to install NodeJS on the RaspberryPi, as I was searching for the best way to do it my self several time, I decided to put this up for you guys (and me 😉 ) here to find it more easily..

First ssh into your Pi, then follow the procedure:

pi@raspberrypi:~ $ mkdir Downloads
pi@raspberrypi:~ $ cd Downloads/
pi@raspberrypi:~/Downloads $ wget https://nodejs.org/dist/v8.9.0/node-v8.9.0-linux-armv6l.tar.xz
--2017-11-05 11:57:20--  https://nodejs.org/dist/v8.9.0/node-v8.9.0-linux-armv6l.tar.xz
...
Length: 10272460 (9.8M) [application/x-xz]
Saving to: 'node-v8.9.0-linux-armv6l.tar.xz'
node-v8.9.0-linux-a 100%[===================>]   9.80M  1.20MB/s    in 7.7s 
...  
pi@raspberrypi:~/Downloads $ tar -xvf node-v8.9.0-linux-armv6l.tar.xz
pi@raspberrypi:~/Downloads $ cd node-v8.9.0-linux-armv6l/
pi@raspberrypi:~/Downloads/node-v8.9.0-linux-armv6l $ sudo cp -R * /usr/local/
pi@raspberrypi:~/Downloads/node-v8.9.0-linux-armv6l $ cd
pi@raspberrypi:~ $ node -v
v8.9.0

You see, finally, we got no v8.9.0 on the Pi.

Stay tuned..

HomePi – Starting with the LED board

As discussed in earlier blog-posts, I will show you how to build an LED controller to be ultimately controlled by the Google Home device. This article is the first in the series that actually talks about the components and we will start with the LEDs connected to our RaspberryPi.

LEDs

First of all we need some electrical engineering fundamentals (based on https://electronicsclub.info/leds.htm):

I own several red and green LEDs, so I will use them for my demo. Every LED must have a resistor connected in series to limit the current flowing through the LED, to prevent it froming burning out instantly. The Resistor value can be calculated with a simple formular

R = (VS – VL) / I 

R = resistor value in ohms (ohm).
VS = supply voltage.
VL = LED voltage (2V generally, or 4V for blue and white LEDs).
I = LED current in amps (A)

Continue reading “HomePi – Starting with the LED board”

HomePi – What we will build

As announced before with my post , I am doing my first blog series about building a sample DIY home automation for everyone to copy.

But what will we actually build?

The general idea behind this series is to show you which steps are needed to connect a google home to you raspberry Pi. It may sound like a small thing, but actually some components are involved

Continue reading “HomePi – What we will build”

HomePi – Google Home connected to raspberry pi using RSI #wc3auto

pi + Google HomeI am currently preparing a series of blog posts to explain, how I connected my rapsberry pi based sprinkler system to my Google home. I will share code an insights about my journey.

You will need a raspberry pi (any generation is fine, I run a 1.gen) and a Google Home, or just your smartphone with google assist enabled. The more impressive is the Google Home though.

I will explain how to setup the raspberry pi, how to obtain a hostname for you dynamic IP address, the setup of letsencrypt certificates on the rasberry pi, how to auto-renew them, how to write a plugin for the rsiServer (http://github.com/rsiServer), how to setup the server for Token based authorization, how to enable https and finally how to hook up the Google Home to the entire system.

Please give me a little time and support me by sharing the announcement, I will be back with detailled instructionssoon.