HomePi – connecting the Pi and the LED board

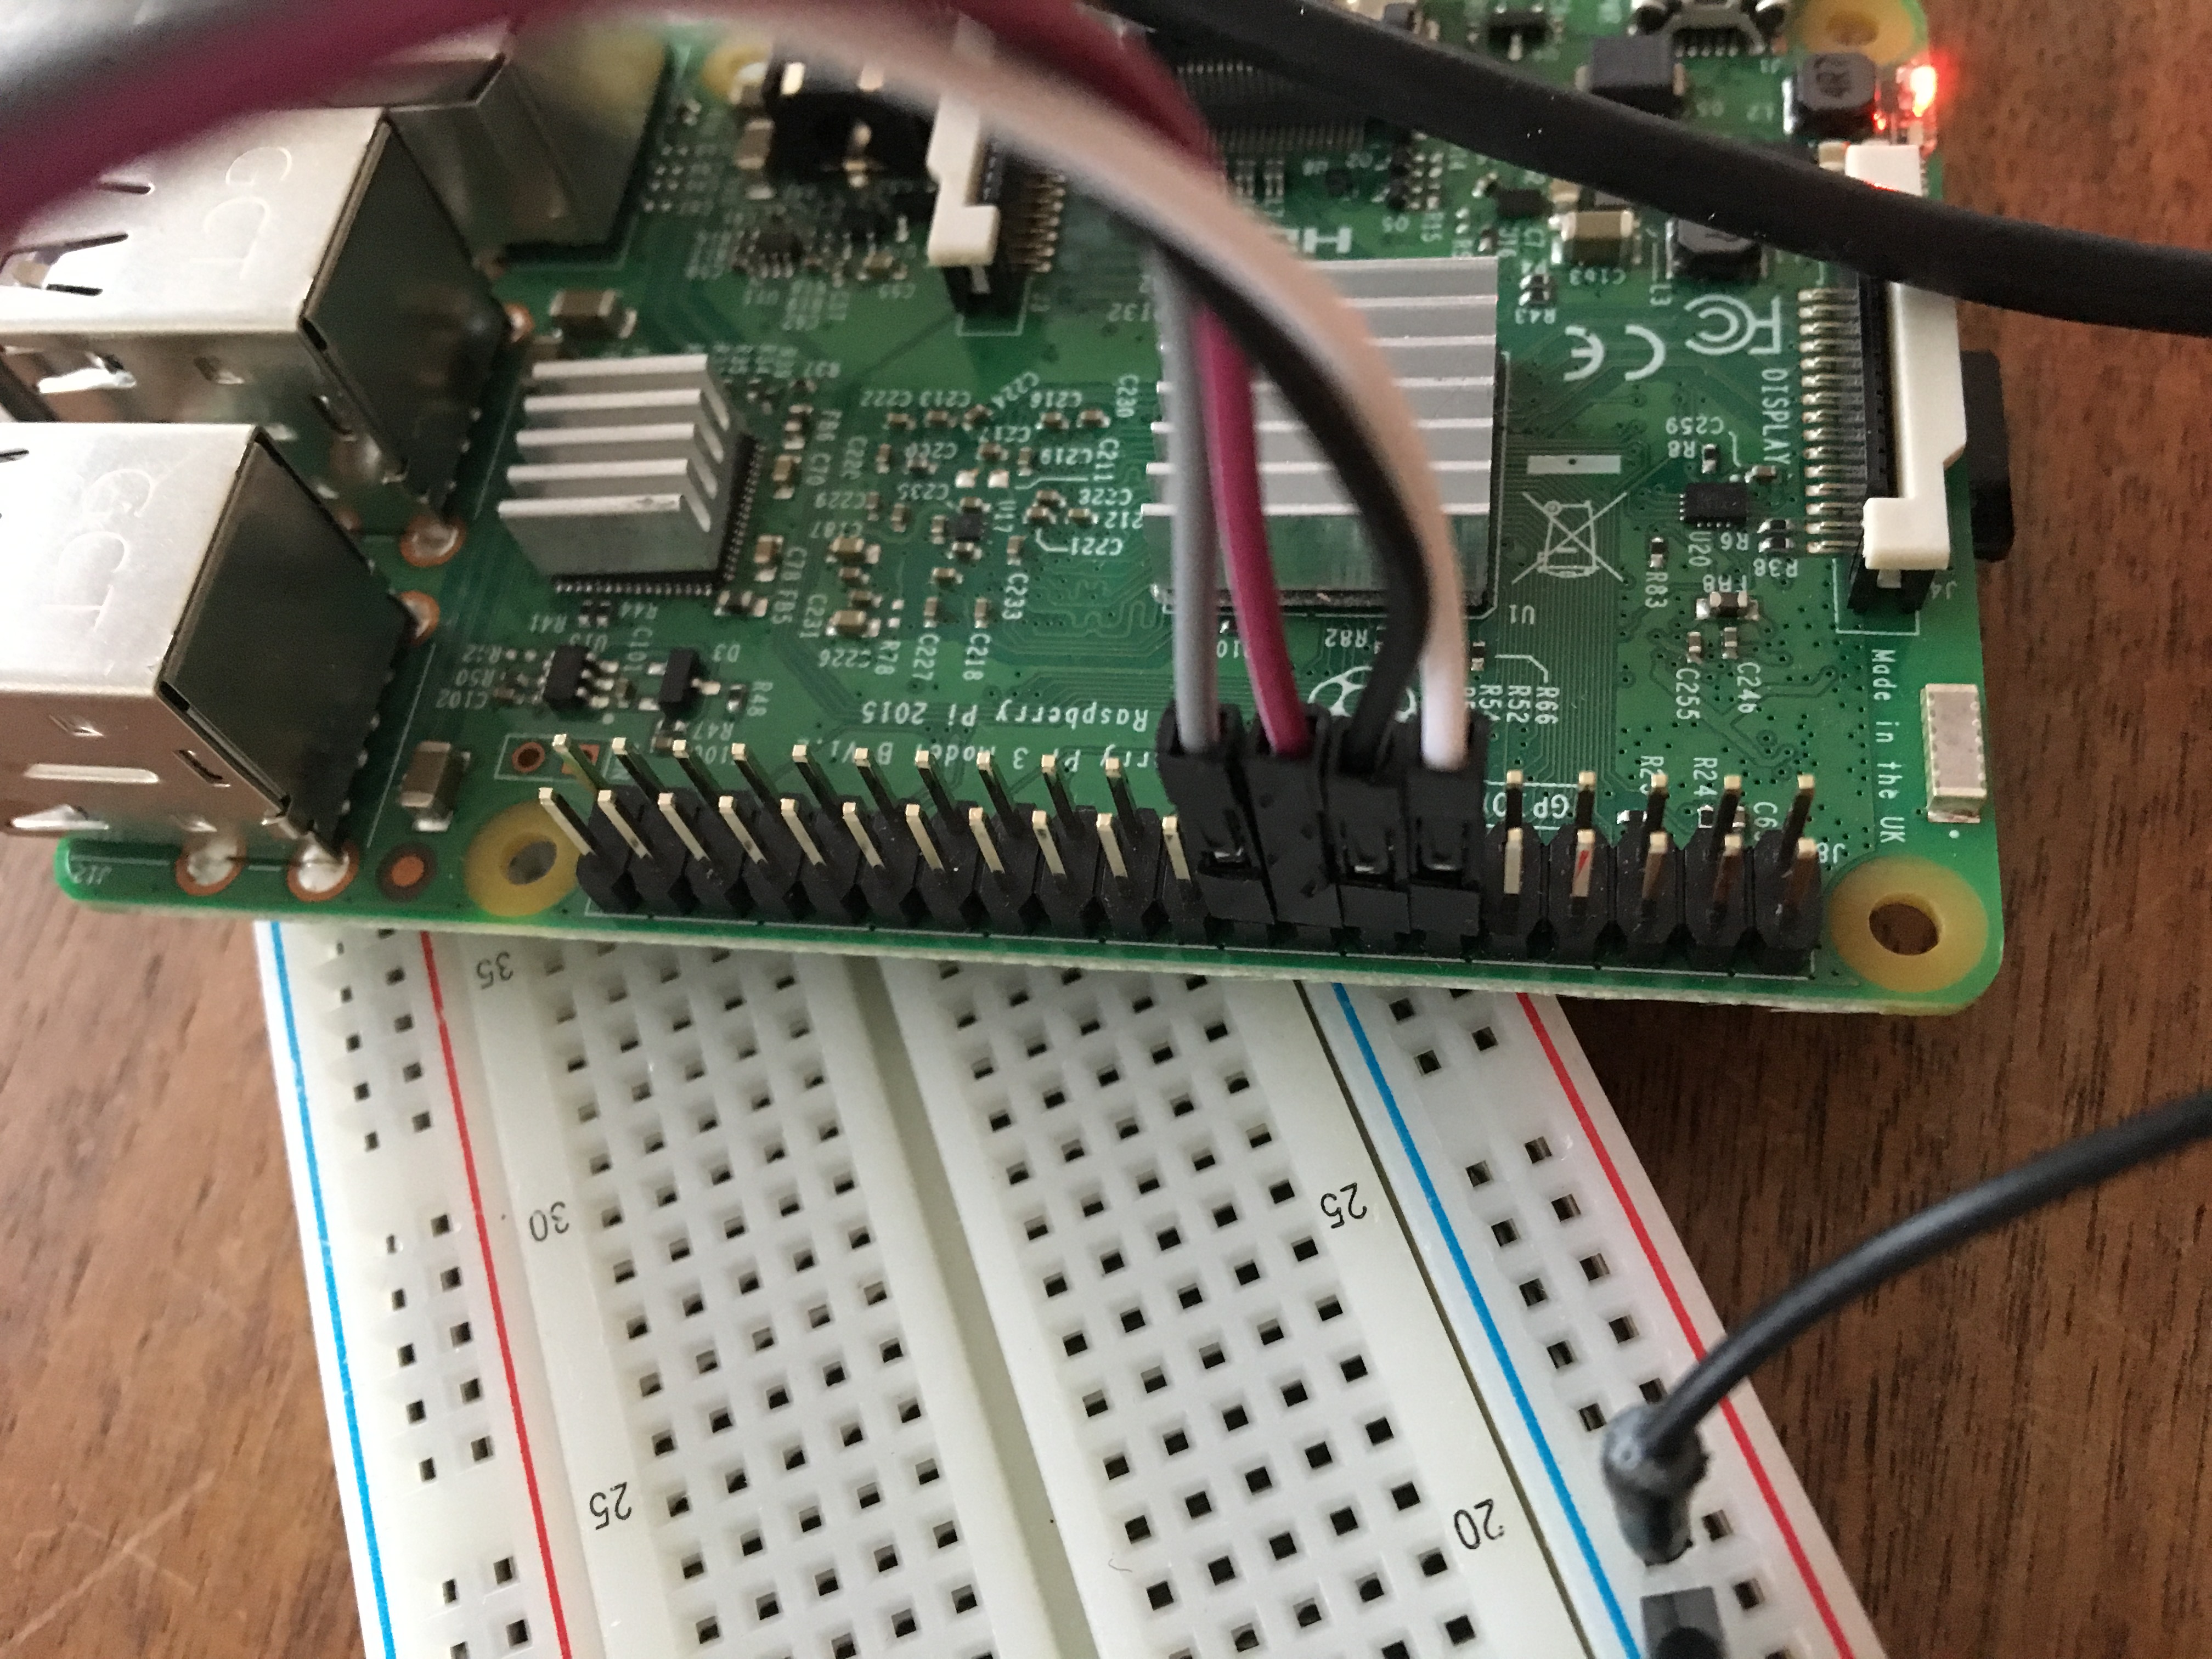
After setting up the LED board (HomePi – Starting with the LED board) and proving that it is actually working, it is now time to connect the Pi with the LED board. In this blog Post, we will talk about:

  • The Raspberry Pi GPIOs in general
  • How to connect the two devices
  • Download & use a software that allows to control the GPIOs/LEDs

First things first: The GPIOs

GPIO stands for General purpose input/output. We find them on the Raspberry Pi. A very good source of information is https://www.raspberrypi.org/documentation/usage/gpio/ where we find an image explaining the PIN numbering and location on the board.

The GPIO pins are a physical interface between the Pi and the outside world. At the simplest level, you might think of them as switches that you can turn on or off (input case) or that the Pi can turn on or off (output case).

Continue reading “HomePi – connecting the Pi and the LED board”

HomePi – Starting with the LED board

As discussed in earlier blog-posts, I will show you how to build an LED controller to be ultimately controlled by the Google Home device. This article is the first in the series that actually talks about the components and we will start with the LEDs connected to our RaspberryPi.

LEDs

First of all we need some electrical engineering fundamentals (based on https://electronicsclub.info/leds.htm):

I own several red and green LEDs, so I will use them for my demo. Every LED must have a resistor connected in series to limit the current flowing through the LED, to prevent it froming burning out instantly. The Resistor value can be calculated with a simple formular

R = (VS – VL) / I 

R = resistor value in ohms (ohm).
VS = supply voltage.
VL = LED voltage (2V generally, or 4V for blue and white LEDs).
I = LED current in amps (A)

Continue reading “HomePi – Starting with the LED board”

HomePi – What we will build

As announced before with my post , I am doing my first blog series about building a sample DIY home automation for everyone to copy.

But what will we actually build?

The general idea behind this series is to show you which steps are needed to connect a google home to you raspberry Pi. It may sound like a small thing, but actually some components are involved

Continue reading “HomePi – What we will build”

HomePi – Google Home connected to raspberry pi using RSI #wc3auto

pi + Google HomeI am currently preparing a series of blog posts to explain, how I connected my rapsberry pi based sprinkler system to my Google home. I will share code an insights about my journey.

You will need a raspberry pi (any generation is fine, I run a 1.gen) and a Google Home, or just your smartphone with google assist enabled. The more impressive is the Google Home though.

I will explain how to setup the raspberry pi, how to obtain a hostname for you dynamic IP address, the setup of letsencrypt certificates on the rasberry pi, how to auto-renew them, how to write a plugin for the rsiServer (http://github.com/rsiServer), how to setup the server for Token based authorization, how to enable https and finally how to hook up the Google Home to the entire system.

Please give me a little time and support me by sharing the announcement, I will be back with detailled instructionssoon.